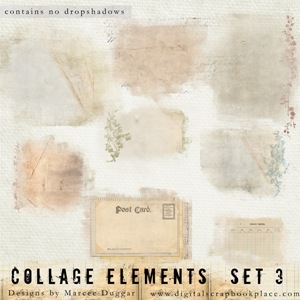
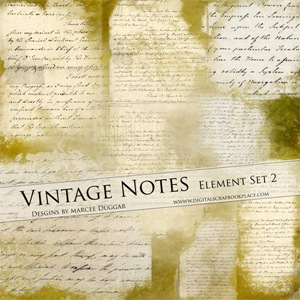
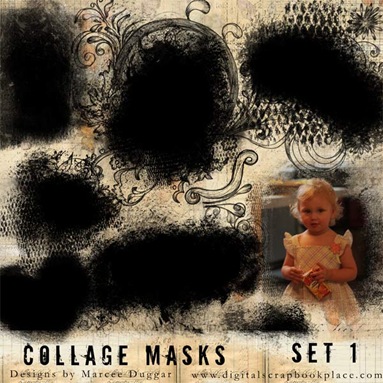
Wanted to show you different ways to use some of my designs. I will be using my Vintage Note Element Set 2 and Collage Elements Set 3 .
Clipping masks are a great way to get that brushed on appearance on your layouts. You can use photos or you can use papers with your clipping Masks
First you want to learn how to use Clipping Masks.
~ open New document 12x12 300 ppi
~ Open Your Mask for this I will be using Vintage Notes
~ Place your mask in your New Document
~ Open any picture and place it in layer Above Your Mask
~ Take your mouse and place it between the Picture layer and Mask Layer Hold the ALT till you see the round symbol then CLICK your photo is now Clipped
~ with your photo clipped you can move it around and resize if needed.
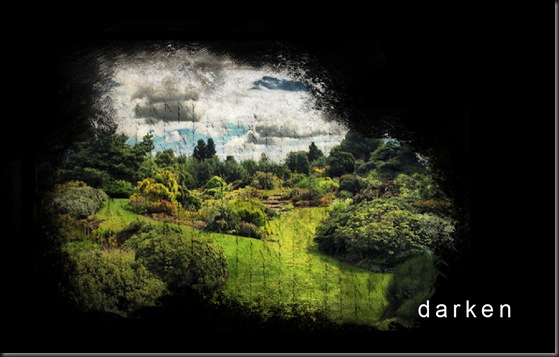
~ It looks pretty cool like this but we can take it a step further with the blending modes
~ right click your picture layer
~ Blending options
~ when the Box appears you will see Normal click on the dropdown arrow and just go thru the different blend modes till you see on that you like I have chosen Multiply here.
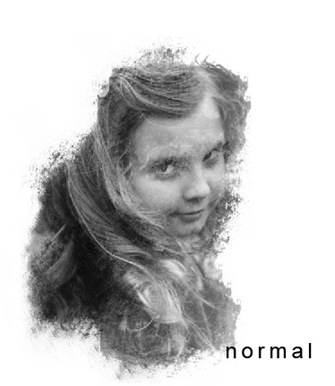
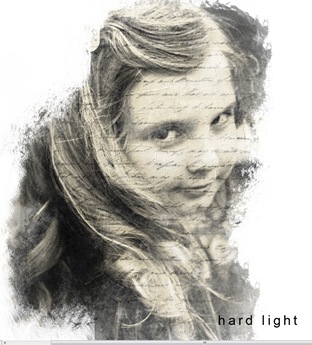
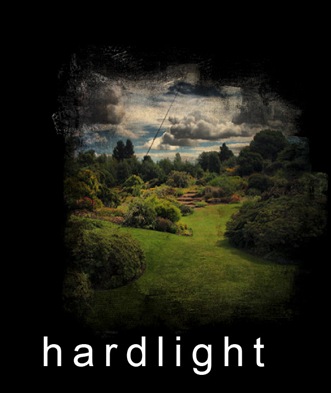
~Here are some examples of what you can do with Clipping and Blending
~ for these 2 images below I used my Collage Elements Set 3
~Vintage Notes Set 2 for these below
~When you get the look you want just merge the 2 layers together and your done!!
-------
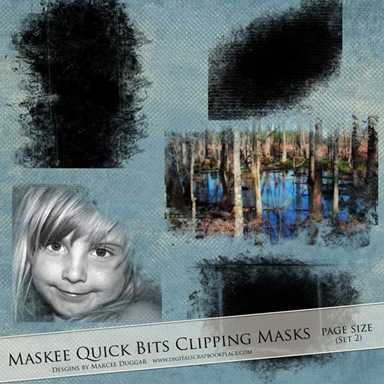
I also have lots of regular Clipping masks in the Store your can clip your photo onto and then merge…
then you can use blend if you like. These sets all come in black they can be rotated and resized!!
Hope You enjoyed this Tutorial on clipping masks..any questions please feel free to ask!!






No comments:
Post a Comment
I would love to hear what you have to say
Marcee J. Duggar